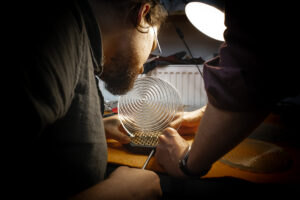
3D printing has undergone a huge metamorphosis in recent years. Thanks to the expiration of patents from a closed branch of business, it turned into a technology accessible to the masses. In the Polish media, 3D printing is presented as a tool for hobbyists, DIY enthusiasts and scientists, and its industrial applications are usually (unfortunately) ignored. However, examples of the implementation of this technology show its enormous potential. Why is it worth equipping the production line with a 3D printer? Sygnis New Technologies answers this question on the basis of effective implementations.

Work from scratch
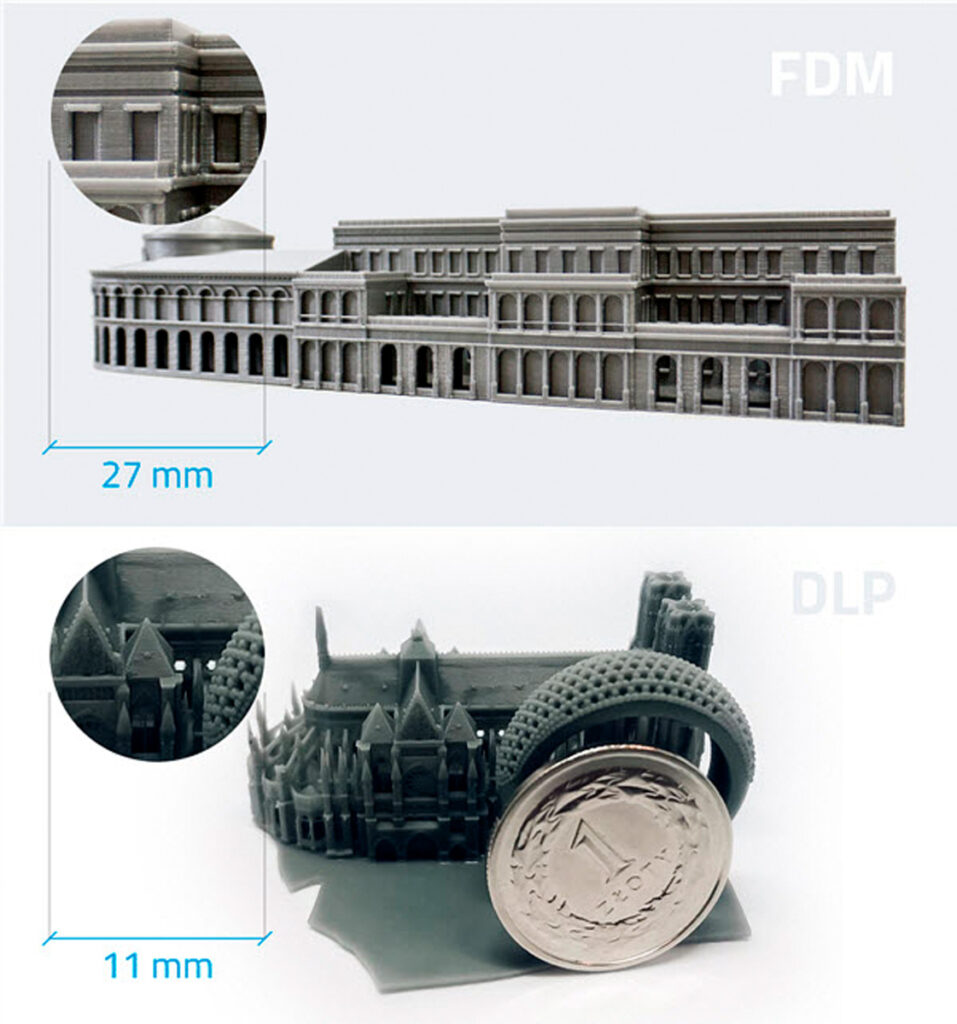
At the outset, it is worth to describe the differences between the two most popular 3D printing technologies: FDM and DLP. Depending on what the final product will look like and what its application will be, one of these two methods is selected.
FDM (fused deposition modeling)
FDM is the most popular and cheapest 3D printing technology. It involves extruding the melted material – filament – layer after layer until a complete model is created. During printing, the plastic filament passes through a hot nozzle, where the material becomes plastic enough to be precisely extruded with the print head.
DLP (digital light processing)
The DLP method is based on curing photosensitive materials (photopolymers) with a projector light. In a very similar technology – SLA (stereolithography) – materials are hardened with a laser. The difference is that SLA indurate the resin at one point, while DLP indurates the entire resin layer simultaneously. In this way, DLP creates models by combining successive layers.
What distinguishes both methods of 3D printing? The basic determinants are:
- quality of the finished part,
- strength of parts,
- cost of production.
The quality of the finish
FDM 3D printing is limited by the size of the nozzle, and DLP 3D printing by the pixel density of the light source (projector). Using a DLP printer you can create prints with a much higher resolution.
Strength of parts vs filament
The DLP method produces more delicate parts than those created by FDM printing. However, it depends on the material used. It is worth mentioning that the choice of materials for DLP printers is more limited. For FDM prints, the situation is much better and there is a very wide selection of filaments. FDM printers usually use filaments such as PLA, PETG or ABS.
Expenses
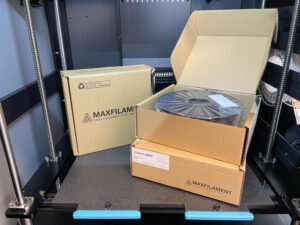
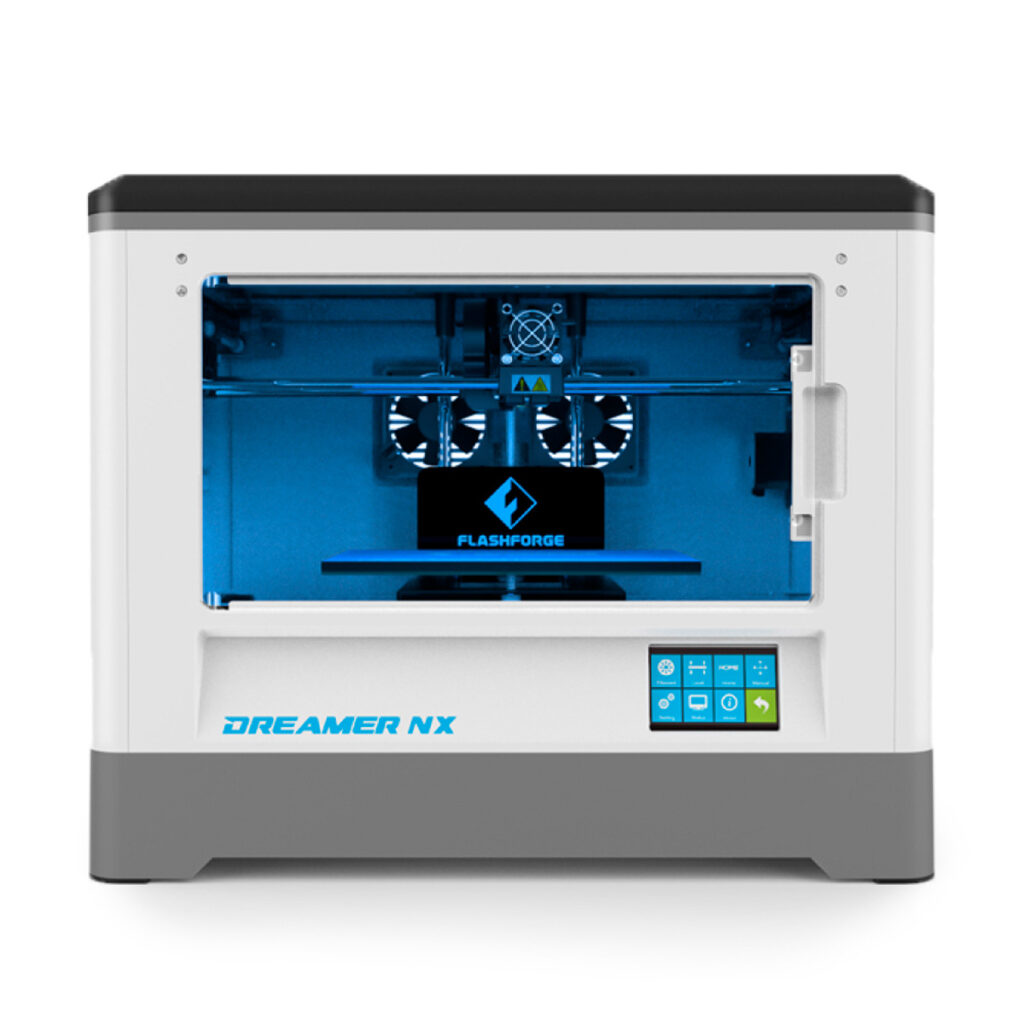
There is a wide selection of FDM 3D printers on the market for all budgets, with prices starting from several hundred PLN. For example, the flagship product of FlashForge – Dreamer 3D printer equipped with two print heads – costs less than 4,000 PLN. Filament spool prices start from about 60 PLN per kilogram. This made the purchase of a printer possible for many people who want, for example, to print at home.
DLP 3D printers are much more expensive than FDM devices. The same applies to resins, the cost of which is correspondingly higher than that of filament spools.
Application of FDM and DLP 3D printers
So there are three things to consider before choosing a machine: accuracy, finish and budget. If you have more resources at your disposal and want to produce high-precision prints with a smooth finish, a DLP printer is the best choice. With limited financial resources, it is recommended to choose an FDM printer.
FDM printing is best suited for:
- creating quick prototypes,
- building cheap models,
- hobby use.
DLP printing is used for:
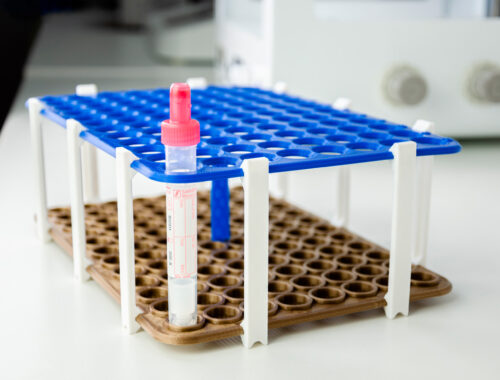
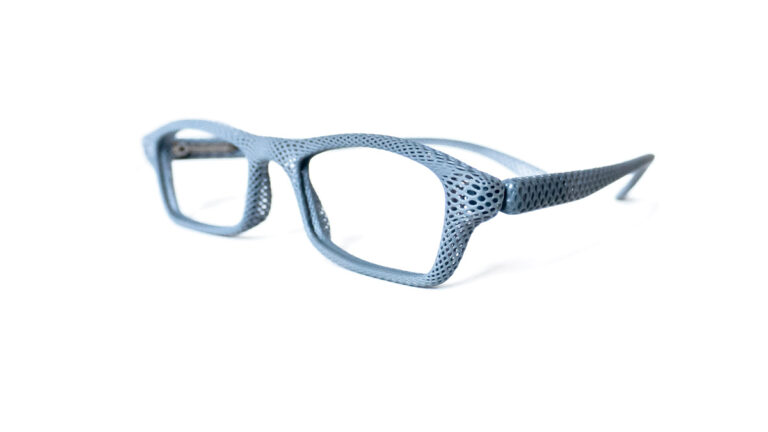
- creating complex details with low surface roughness,
- making molds for casting to facilitate mass production (eg for the production of jewelry or toys).
Why is it worth getting a 3D printer?
Recently, Volvo has established cooperation with one of the leaders in the 3D printing from polymers, Stratasys, which allowed to shorten the production time of some elements by as much as 94%. Now, instead of waiting 30 days for a set of metal tools to assemble the latest models from the Swedish manufacturer’s stable, engineers can get a new set in just 2-3 days. In addition, production costs also dropped significantly: from 113 EUR / cm3 to 1 EUR / cm3.
General Electric manufactures components for turbojet engines using 3D printing. Their weight is reduced by 50%, which contributes to reducing fuel consumption. From this year on, the largest passenger airliners (Airbus 320neo, Boeing 737MAX, COMAC C919) will be equipped with such engines.
Airbus Helicopters has officially implemented 3D printing technology in the production of latch shafts for the doors of A350 airliners. 3D-printed parts are cheaper to produce and weigh less than their traditional counterparts. As a result, Airbus is able to offer aircraft that are more economically and environmentally friendly.
In addition to the production of specific parts, the above-mentioned companies (and many others) use the potential of 3D printing to produce and repair specialized tools, the import or service of which was so far associated with high costs.

First steps after implementing 3D printing in the company
At the outset, it is worth making sure that you have all the necessary tools for 3D printing, such as: a putty knife, caliper, pliers, wrenches and screwdrivers. After completing the equipment and accessories, you can start printing.
For this purpose, you need a 3D model that can be created in CAD programs or downloaded from the Internet. It is worth paying attention to the format in which the models are saved. Most often it is an .stl file. To create a file that the 3D printer will be able to read, the 3D model must go to the so-called slicer, in which it will undergo the necessary modifications, primarily consisting of dividing the body into horizontal layers. Exemplary, free programs, for creating so-called slices are: Simplify3D, Cura, slic3r and FlashPrint (designed for Flashforge printers).
Before preparing the printouts, check the printer calibration and the settings of printing parameters for the filament you’re using. For these purposes, the best solutions are:
– calibration cube – suitable for verifying the correct dimensions of printouts, displacement between axes or vibrations caused by too high speeds; to check the dimensional accuracy, measure the walls of the ankle, e.g. with a caliper; additionally, you can check vibrations (so-called ringing or echoing); sharp angles of the ankle are places exposed to a print defect – the printer head must suddenly slow down there with high precision; ghosting can be reduced by reducing the speed, acceleration and jerks of printer movements;
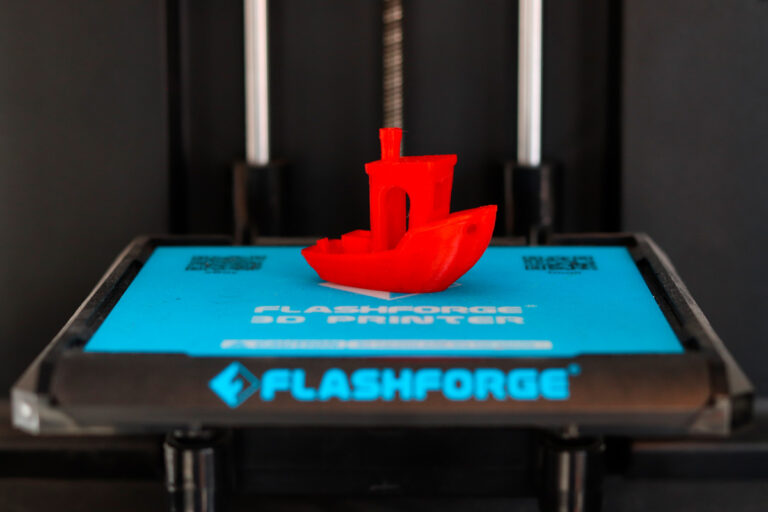
– benchy – a popular boat, which is a test of many parameters – the fuselage shows how the printer copes with cooling (if the temperature is too high, the 3D print will be extended downwards); the deck of the boat is parallel to the surface of the table, badly printed may indicate problems with the amount of extruded filament; windows and door arches in the cabin are a great test for a 3D printer for overhangs and bridges; the chimney provides information on the quality with which round elements are manufactured; the hole and the inscription on the back of the boat show the resolution of the details, and the inscription on the bottom shows if the table is well calibrated.
After checking the settings, you can proceed with printing the models.
Source: http://www.mechanik.media.pl/artykuly/druk-3d-zastosowania-w-przemysle.html